Trending

Two paths leave the same valley and finish on the same summit. On paper they look like twins: similar length, same destination, same number of bends. Then you look at the contour lines and one of them is a staircase while the other is a ramp. That is the whole point of contours, and reading them well takes an afternoon of practice, not a season.
Walkers tend to spend more time looking at the ground under their boots than at the paper in their hand. The contours tell you where the steep ground is long before you get there, and they do not lie about it.
Every contour joins up points of equal height above sea level. The vertical distance between one line and the next is the interval, and it is printed in the map key — check it, because it varies. Ordnance Survey Explorer maps at 1:25,000 often use 5 metre contours in the uplands, Landranger maps at 1:50,000 normally use 10 metres, and Harvey's British Mountain Maps use 15 metres. Mixing those up is the quickest way to misjudge a slope.
Every fifth line is usually drawn thicker and marked with its height. These index contours are what you count when you want a fast answer to "how much more climbing is there?" Counting the thin lines one at a time is slow and easy to lose track of. Counting the fat ones and adding the stragglers is not.
Contours never cross and never touch on a properly drawn map. If two appear to meet, you are looking at a cliff symbol, a printing artefact, or the edge of the sheet.
Contours packed tight mean steep ground. Contours spread wide mean gentle ground. Everything else is detail.
Evenly spaced contours describe a steady, unrelenting slope — the kind that looks harmless on paper and takes the legs out of you 300 metres later. Contours that start wide and gradually bunch describe ground that steepens as you climb, so the hard work lands at the top when you are already tired. Contours that bunch, relax, then bunch again describe steps: a shoulder, a flat, another pull. Learn to read that rhythm and you can feel a hillside before you set foot on it.
Scale matters when judging spacing, so compare what you see to the scale bar rather than to your thumbnail. On a 1:25,000 map, a millimetre is 25 metres on the ground. If 10 metre contours sit a millimetre apart, that is 10 metres of climb in 25 metres of walking — roughly 1 in 2.5, which is hands-on-rock territory if it keeps up. The same millimetre on a 1:50,000 map is a far friendlier 1 in 5.
Where a contour bends into a V and the point aims uphill, you are looking at a valley, gill or gully. The sharper the V, the more enclosed the ground. A chain of tight Vs marching up the map is a ravine you will not enjoy descending in the wet.
Flip it and you have a spur — a nose of high ground pushing down into a valley, with contours bulging downhill around it. Spurs are usually the best line of ascent: drier underfoot, better views, less chance of being funnelled into somewhere loose and steep.
Water runs down the middle of the V. If the V points uphill, it is a valley. If it points downhill, it is a ridge.
Concentric loops, one inside another, mean a summit or high point. The innermost ring tells you what sort of top it is. A tiny inner ring means a pointed summit; a broad inner area with widely spaced rings means a plateau, and plateaus in cloud are where navigation gets interesting. Rings with small ticks on the inside — hachures — are the opposite: a hollow. The ticks point down the slope, into the hole.
Two closed rings with contours sagging between them mark a col. Cols are the natural crossing points of a ridge, and often the place where paths, walls and winds funnel together.
The classic fell bowl shows up as a horseshoe of contours, tight at the back wall where the ground is steepest, opening out downhill. In the Lake District and Snowdonia these are often ringed by crags at the head, which is why the map adds crag symbols and hachures there. Read correctly, a bowl tells you two things: the direct line up the back is steep, and the rim on either side is usually a gentler way round.
Look too at the rings near the top. A small highest ring with tight contours around it means a summit that will feel like one. Rings that spread out over a wide area mean a flat, featureless top where the compass earns its place.
Contours describe shape, not surface. They will not tell you about scree, bog, heather or loose rock, so pair them with the other symbols: crag hatching, boulder fields, marsh marks and the blue of streams. Where a path crosses tightly packed contours at a crag, treat it as somewhere to read carefully rather than a line to follow blindly.
Gullies deserve particular caution. A V that looks like a handy shortcut off a ridge often steepens sharply and can end in a drop. Unless you know the ground, the ridge itself or a path off the shoulder is the safer choice.
Work through a route section by section rather than glancing at the whole line. Find the start, count the index contours to the first obvious break in slope, then identify the ridge you are following, the col at its head, and the final pull to the top.
Mark the three or four places where the contours bunch hardest. Those are the sections that will slow you down, and the ones worth checking against the weather before you commit. Then look for escape routes: a spur running off to one side, a valley path back to the road, a lower col. A route you can leave halfway is a route you can enjoy.
Before any hill day, do this at the kitchen table:
It takes a few minutes and it changes the day. You will still be surprised by the wind, the wet ground and the view. You will not be surprised by the climb.
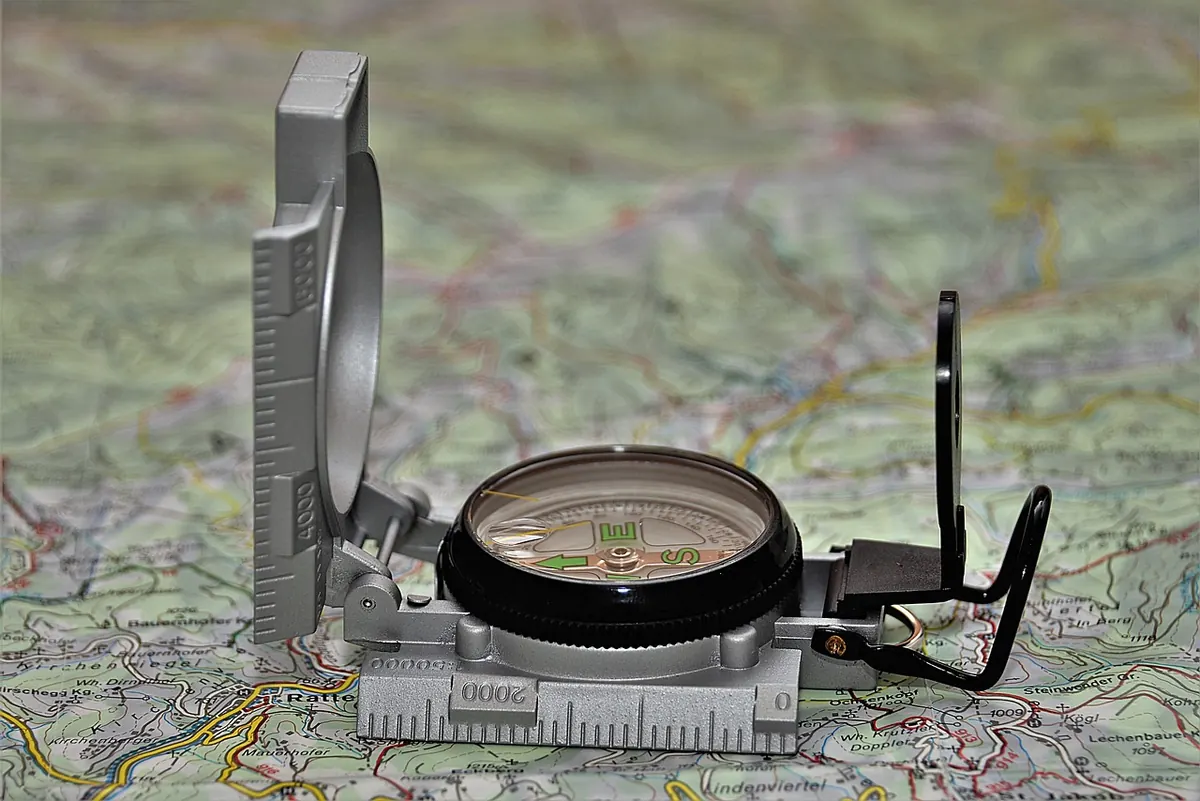
Photo: Pixabay / Pixabay